Wednesday, June 10, 2015

Butterfly Dance

For my final piece for my exam I created my niece as a variety of dancing butterflies. Both pieces are very surreal. Martin did outdo me in the amount of layers he used. I cropped in very close and I again blurred my background. I have an "S" curve for composition. I spent a lot of time cleaning up the edges around each of the girls. I had it enlarged a lot as I erased. I did use a soft edge eraser to make it more natural. I like how Martin softened the edges of his butterflies as they morphed into her hair. The butterflies flying off her face really draw your eye in. For my composition I wonder if I should have added a small butterfly in the left upper corner?


.

Butterfly Girl

Here is the second photo for my final with an added twist, I stole one of my teacher's photos. I really love the graphic feel Martin got and he of course chose my nieces favorite color. The bubbles add a very playful feeling to the images which also matches her "Bubbly" personality. In both of my images I again cropped in very close and used translucent layers to achieve a dream-like quality. I blurred the background so that the emphasis is on my niece and the butterfly falls within the rule of thirds. My niece is the spirit of the butterflies. My only concern is Martin may take me to court over copyright infringement.


Mother Sky Loves The Earth

Here is my first photo for my final and Martins' rendition. I did a lot more manipulation than my teacher. I like how Martin warmed the skin tones and blurred the background to really emphasis my mother and my niece. I have 8 layers in my image. I really love the composition and the close cropping and I really like the texture and softness I created. I used the eraser tool with the opacity low to soften the edges of my people.

My Teacher's Images

Here is my final exam from Martin and it was a lot of fun.


Here are the specifications for your final exam! Although it took me a few days straight of contemplation, I was finally able to come up with a project/assignment for you :)

Final Exam Part 1: Take a series of photographs of any subject, but keep in mind these photos should be taken of the best quality. The photos should demonstrate a high level of understanding of composition, as well as demonstrate a respect for photography and what makes a photograph "good". Out of all of your photographs, choose 3 to edit (or not to edit if that is your choosing) and work on them generously. After you have completed the 3 photographs, please post the 3 ORIGINAL photographs to your blog, and not the edited versions. This will be key for part two.

Part 2: After posting your original photographs, I will (with the help of other art students) also be editing the 3 pictures you post, and I will post them (or send them to you). You will then post your edited versions alongside the edited versions I send you, and I would like you to compare and contrast your work, with the versions I send you, and post it on your blog.


Here are the Photos from Martin. The next posts will be The Comparison Shots.


Sunday, June 7, 2015

My 3 Original Photos For My Final

I have been hard at work on my Photo Final for my teacher Mr. VanBuren. Here are the three original photos. No editing has been done. Have fun! I will be posting my final 3 on Friday. I can't wait to see what you and your cohorts come up with.


Sunday, May 17, 2015

Assignment 3

Assignment 1: This week I want you to take an assortment of photographs, what you decide to photograph is up to you. Your assignment is to showcase 1 photo for each camera setting on your camera, which means I would like to see the camera setting in action! You are allowed to use editing software for this assignment, as well as use any resources available to you.

     Here are my series of photos. These are 7 images from over 100 photos that I took over 2 weeks. I explored a variety of settings on the camera.
This photo was taken in close-up mode. I did use the crop tool and I darkened a highlight area that I found distracting.

This photo was taken in Manual Mode. I crop the image to enhance the flower cascade in the foreground.

This photo was taken in Landscape Mode. I did no cropping but I did enhance the greens and I increased the contrast in the lower section of the image.


 This image was taken using the Portrait Mode. I do not like having my portrait taken so I decided to take a photo of my hand. The skin tones looked very natural and I did nothing to the image.
 This image was also taken in Close Up Mode because I wanted an image where I really zoomed in.  I did nothing to this image.
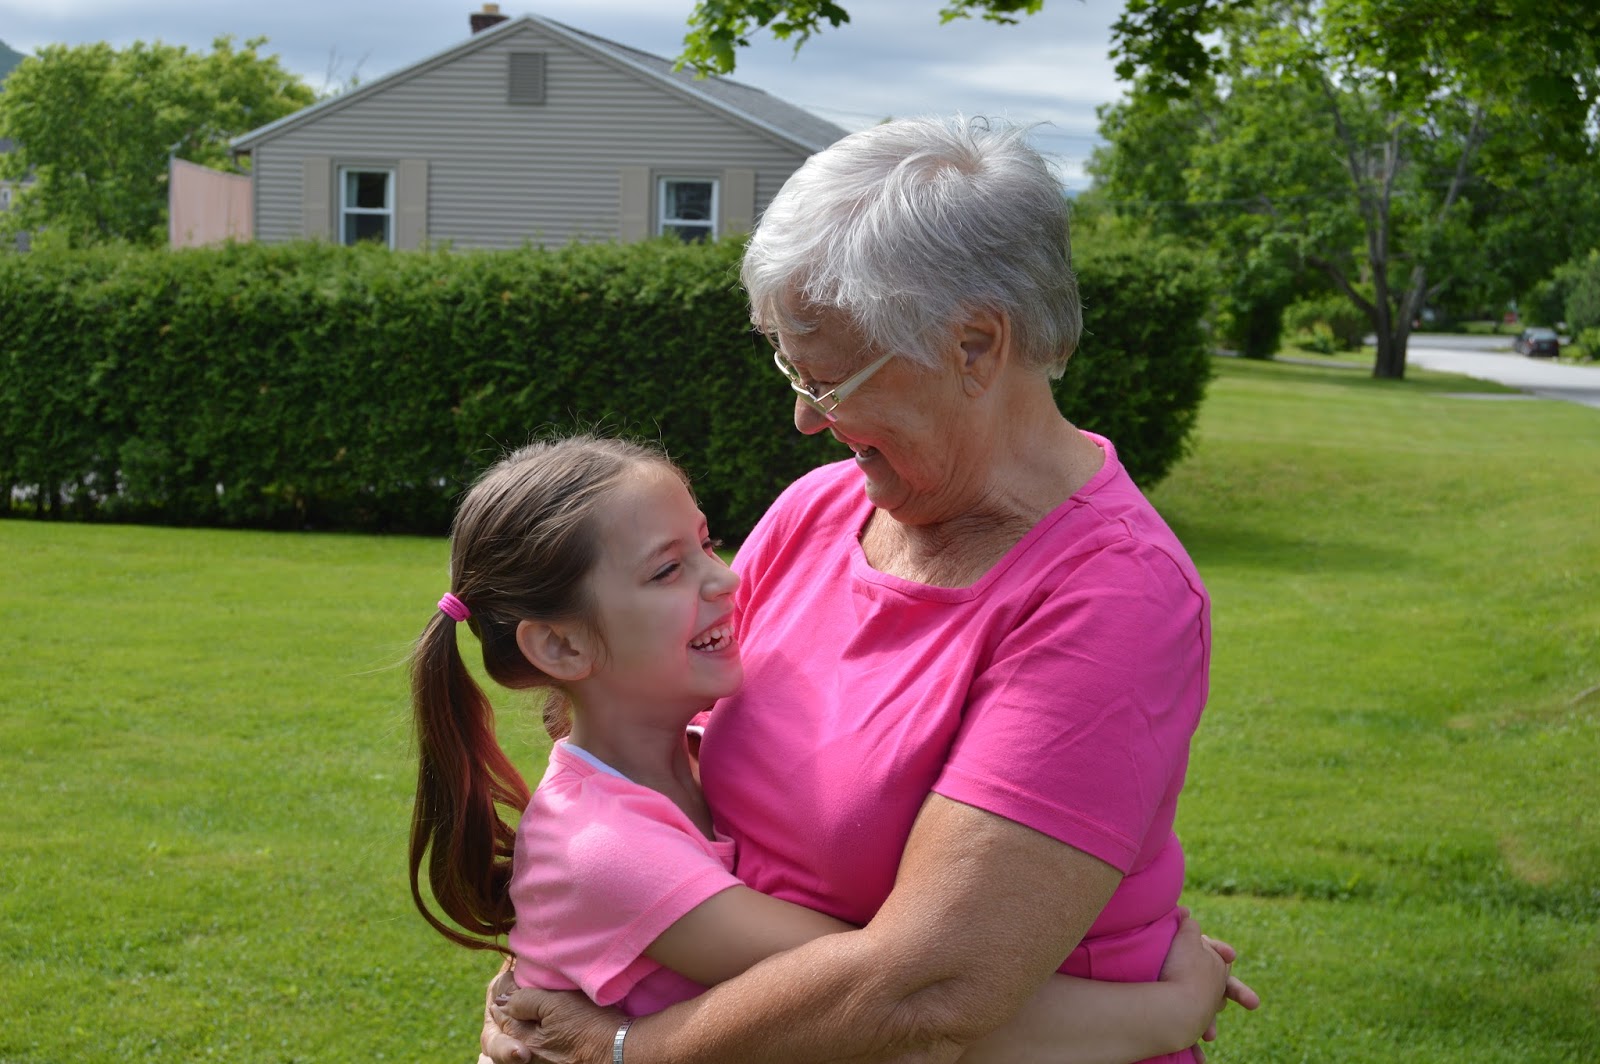
I took this image using the Sports Mode. I cropped the image only.
This image was taken in Night Portrait Mode. I cropped the image and I saturated the color a little to show off the blossoms more.

Thursday, April 23, 2015

Assignment 2

Week 2
     Assignment 2-
      This week it will be important for you to become more comfortable with your camera. Go over the controls and settings and start to play with some of the things you may not be comfortable with. Post on your blog something you find on your camera that you didn't know you could do.
     I was responsible for taking photos at this year's Earth Fair and I did not have the time to be worrying about focus and catching a "good shot" so I played with the Automatic Setting. At first I had a tough time because I had set my dial to A but my photos were fuzzy. Thanks to Mrs. Posch I realized that I also needed to set the lens to Automatic. She then told me how I just need to press the shutter button down half way and the camera does all the work. Yeah!!! I don't need to think.  I found it very easy to take photos and I did not have to worry about blur. Of course the Earth Fair was FILLED with children who never stopped moving. I love how the Auto setting captured them with very little blurring.